
Adding Areas
Add and customize areas (rooms or spaces) to estimates with dimensions, area types, surfaces, and automatic price calculations.
Last updated
Was this helpful?
Add and customize areas (rooms or spaces) to estimates with dimensions, area types, surfaces, and automatic price calculations.
In PaintScout, you build estimates by adding areas — named spaces or rooms where work will be done (e.g., Bedroom, Office, East Wall, Porch). Each area holds dimensions and surfaces that drive automatic price calculations.
An area is a space or room where the work will be done, such as a Bedroom, Office, East Wall, or Porch.
1. On the estimate, click Add Area or Line Item

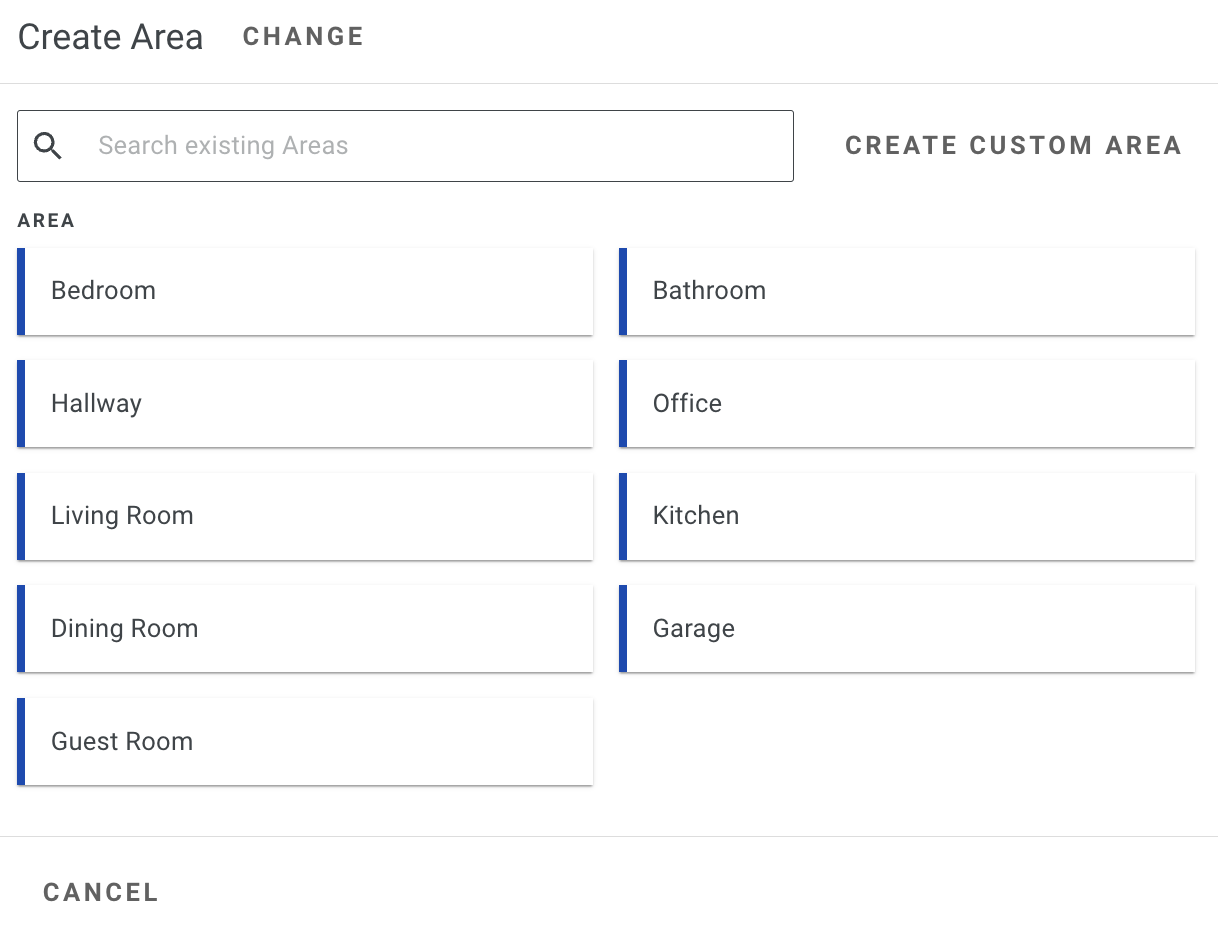
Select Area.

Choose from your list of pre-built areas from your settings or create a custom area.

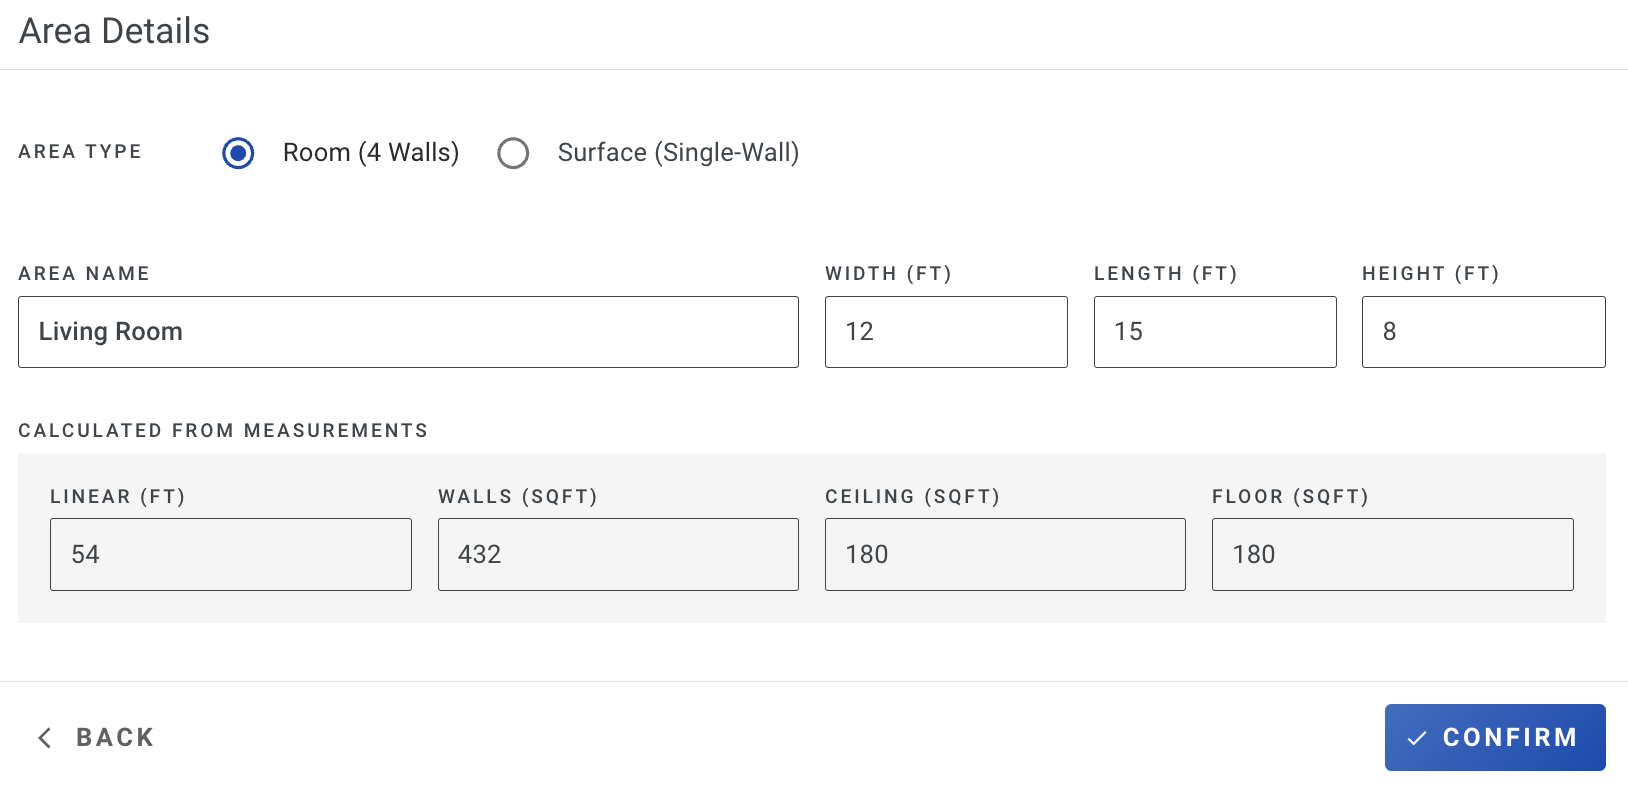
Once you have chosen an area, you can start customizing the details.

Personalize: You have the flexibility to customize every field, including the name. Simply click on each box to make edits.
Add dimensions: Input the dimensions of the area in the designated width, length, and height boxes. If you wish to override the automatically calculated linear or square footage, click the customize dimensions button. To revert to the default value, click the triangle icon.
Select an area type: Choose room to calculate the space as if it has four walls, or surface for a single plane (e.g., the front side of a house). You can set the default type per estimate type in your settings.

Select the surfaces you want to paint. Choose a rate category (e.g., Walls), then pick a specific surface (e.g., 8 ft walls). PaintScout calculates painting hours and price from the production rate and area dimensions. Click + Add Substrate for more surfaces, then click Add Area when finished.

Last updated
Was this helpful?
Was this helpful?

